When it comes to home improvement, few things can refresh and revitalise a space like a new coat of paint. Interior painting is one of the most cost-effective ways to elevate your home’s look, but many homeowners underestimate the nuances that separate a DIY job from a professional-grade finish.
Whether you’re preparing your home for sale, giving your favourite room a makeover, or simply covering up years of wear and tear, knowing a few trade secrets can make all the difference.
Done Right Services is here to lift the lid on the top 10 interior painting secrets that professional decorators swear by. These expert insights will help you avoid costly mistakes and achieve results that stand the test of time.
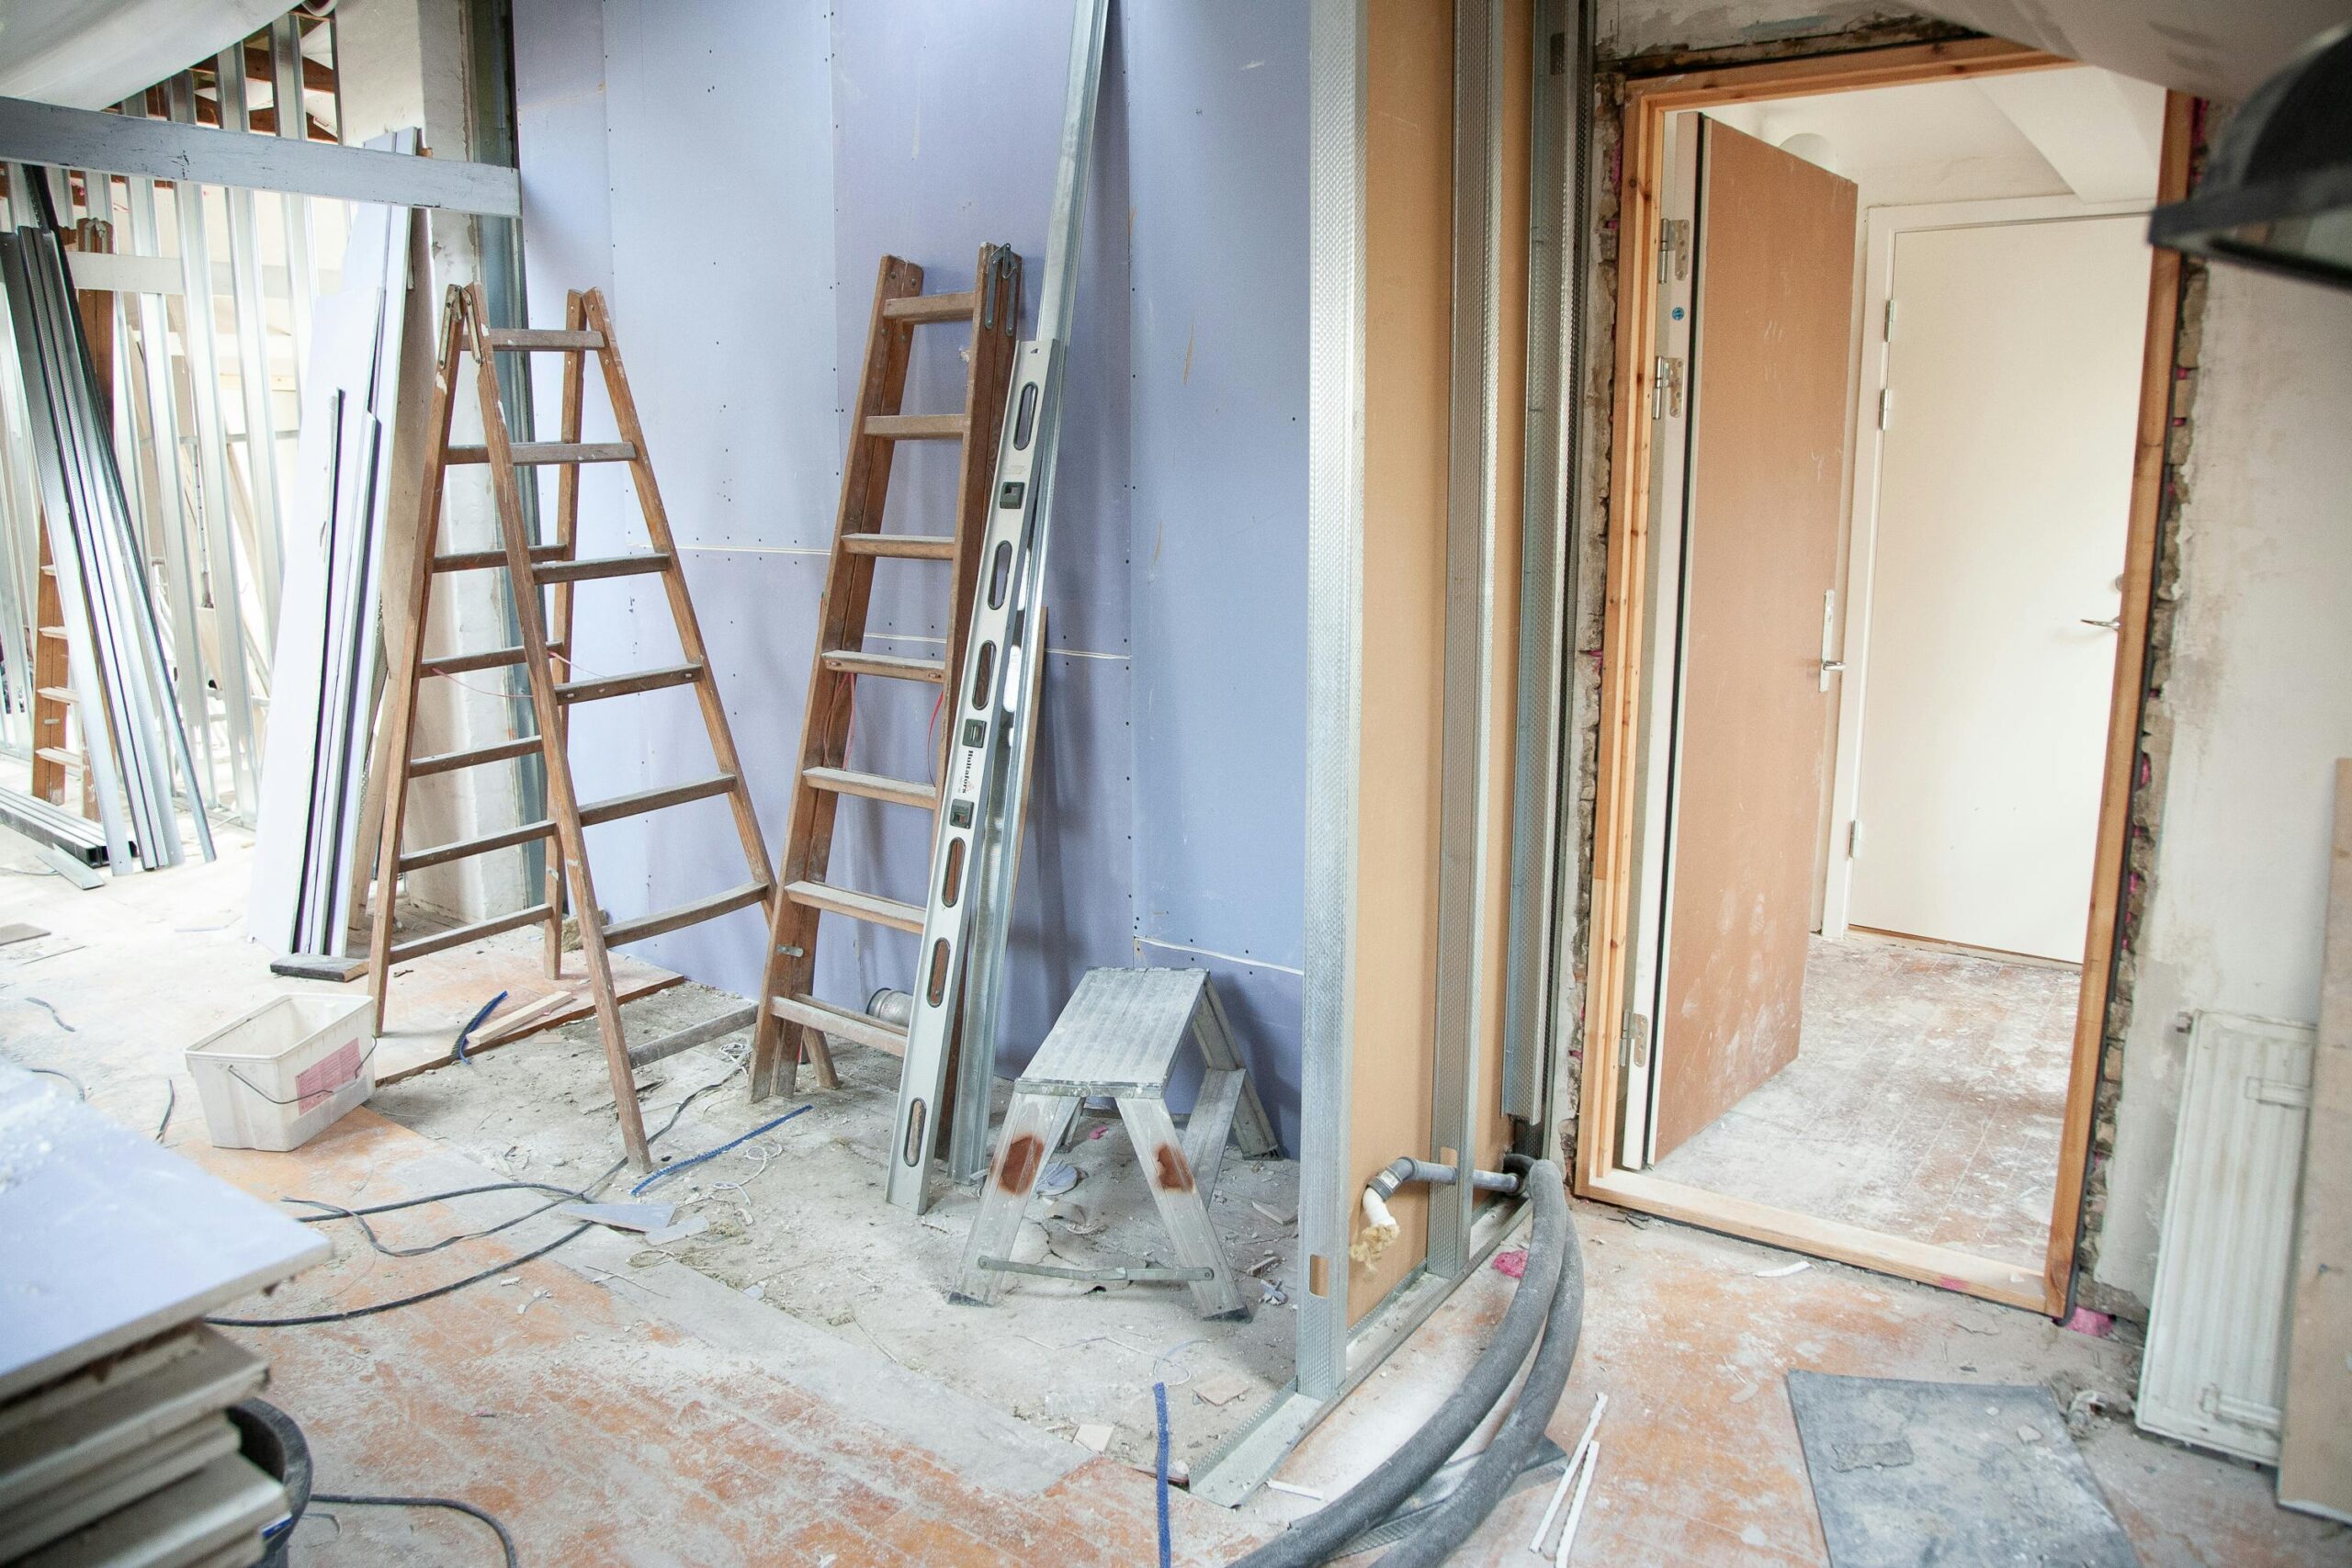
1. Prep Like a Pro: The Foundation of Flawless Paintwork
Preparation is everything. Professional painters spend more time prepping than painting. Why? Because a smooth, clean, and properly repaired surface ensures that paint adheres well and looks flawless.
Pro Tip:
- Remove dirt, dust, and grease from walls using a mild detergent.
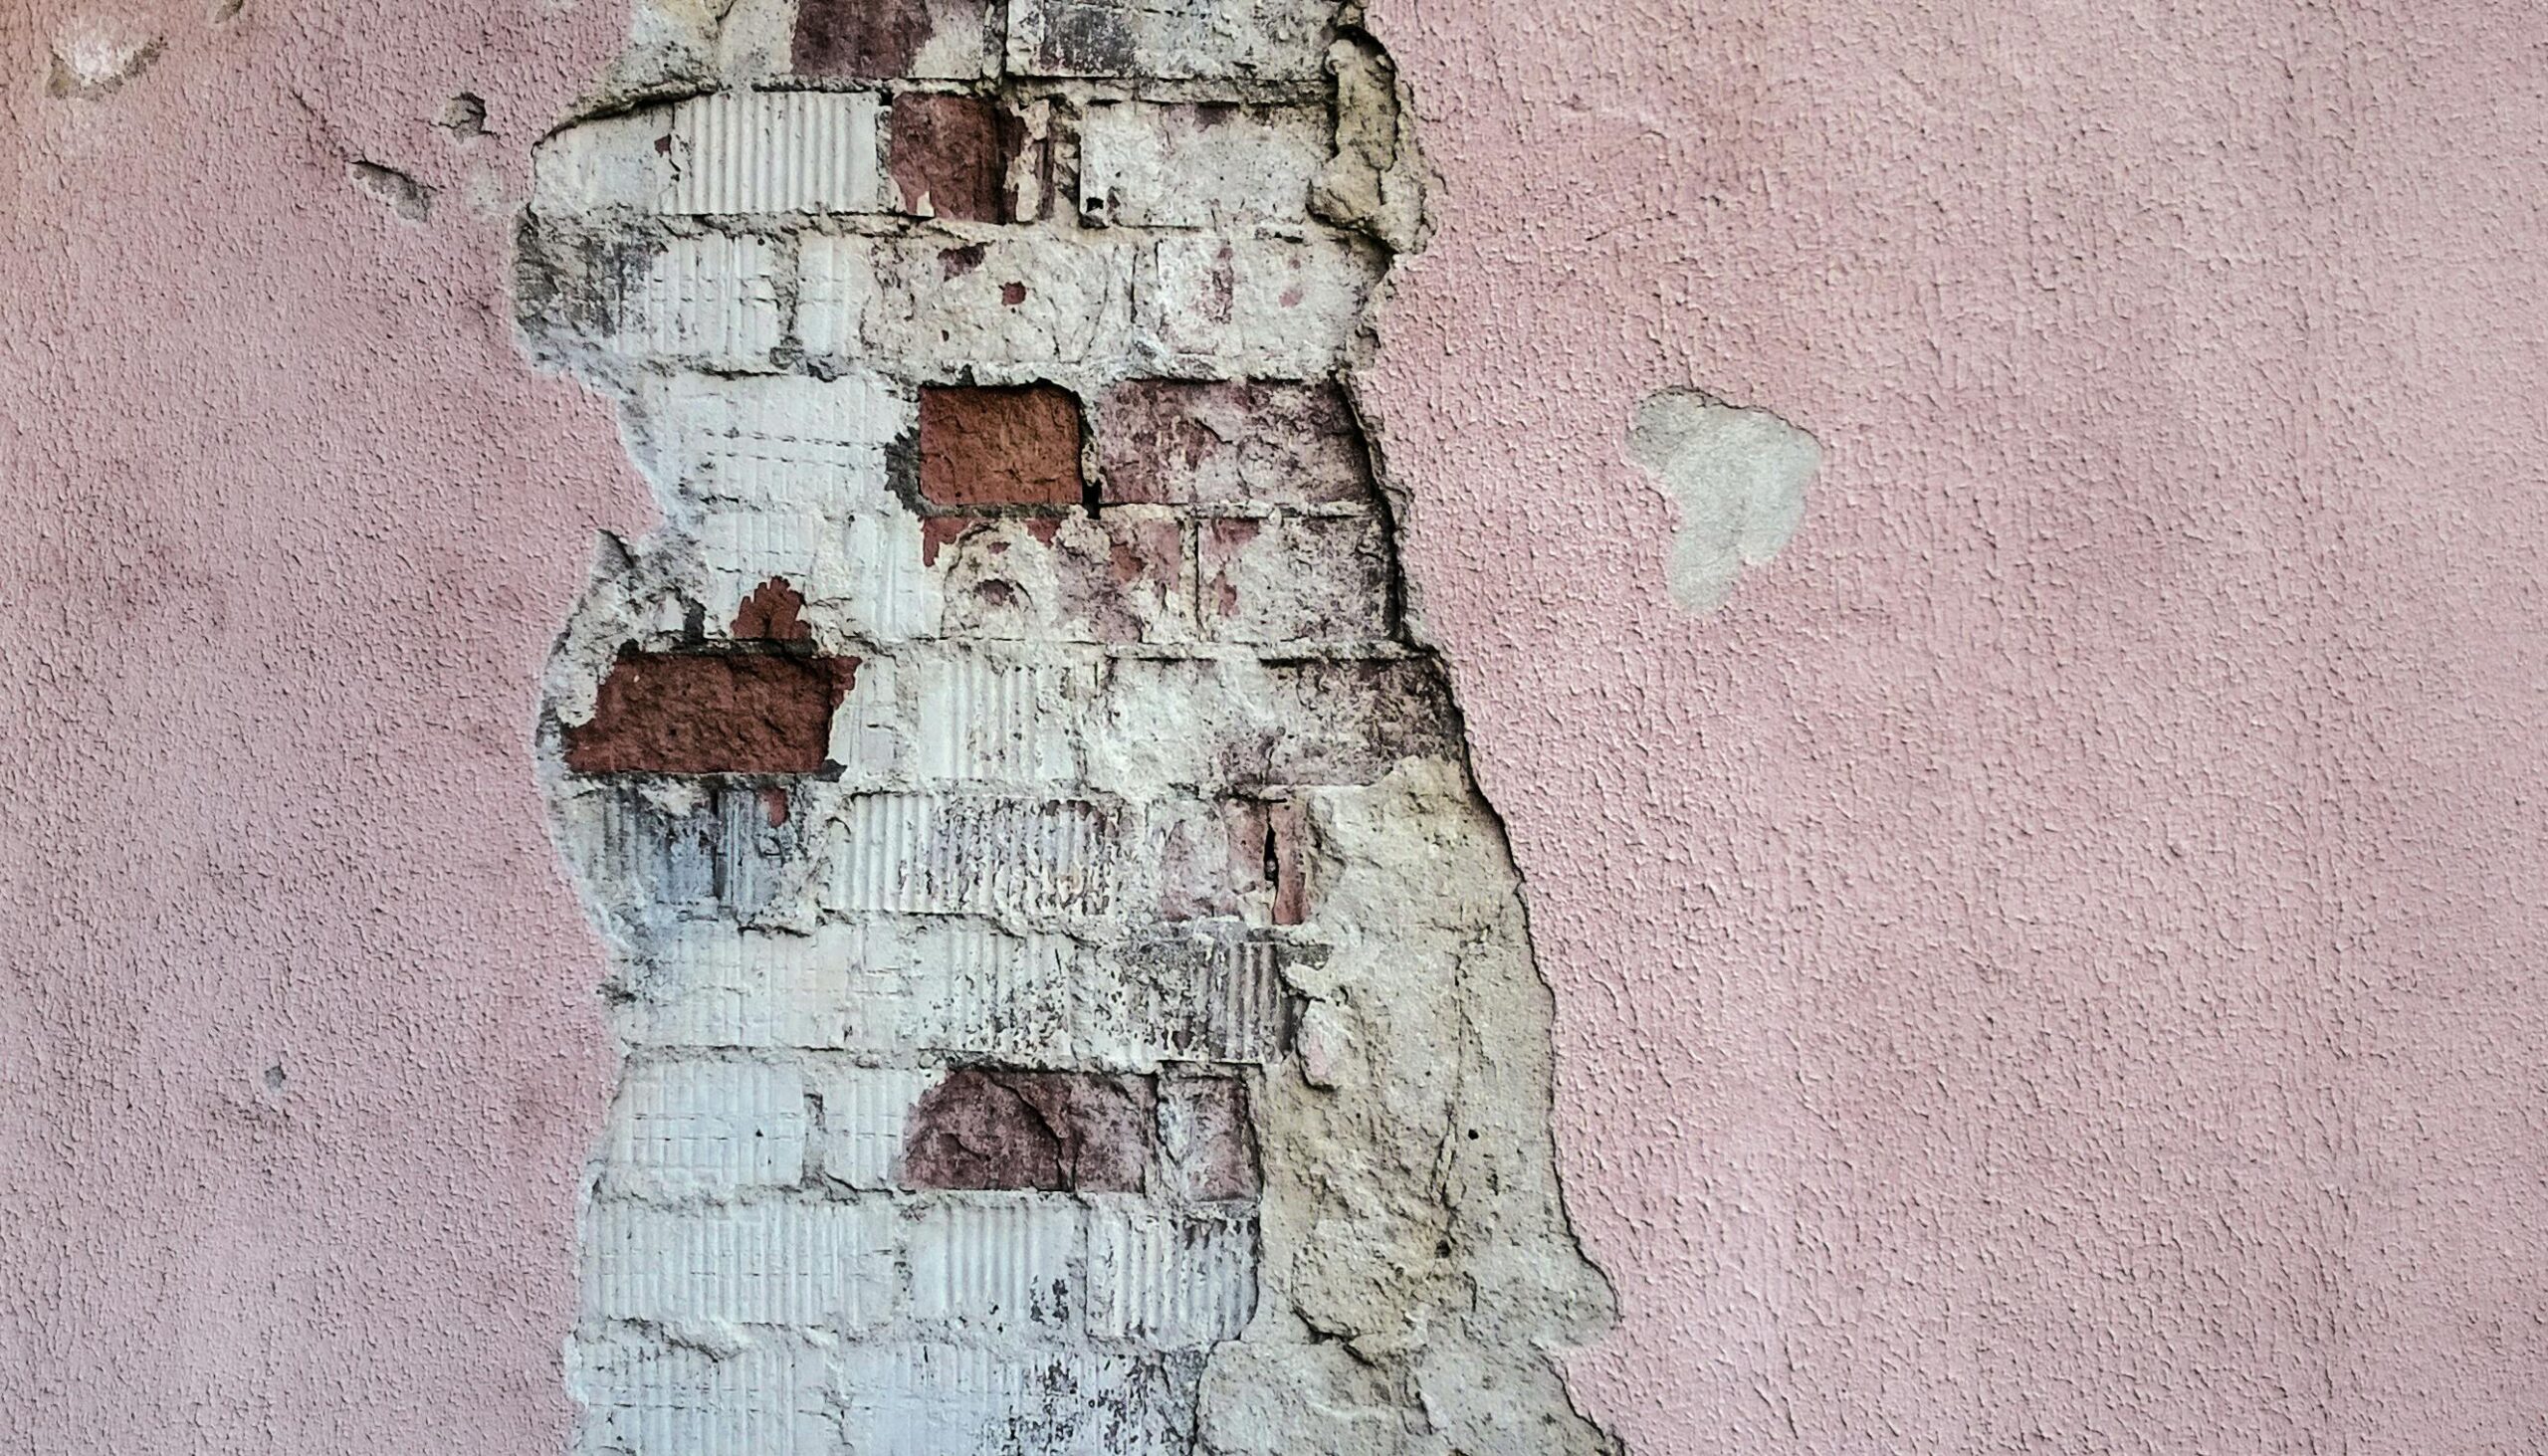
- Fill holes and cracks with filler and sand smooth.
- Use painter’s tape to protect trim, windows, and edges.
- Always prime patched areas to prevent uneven texture.
A few hours of prep can save you days of frustration down the line.
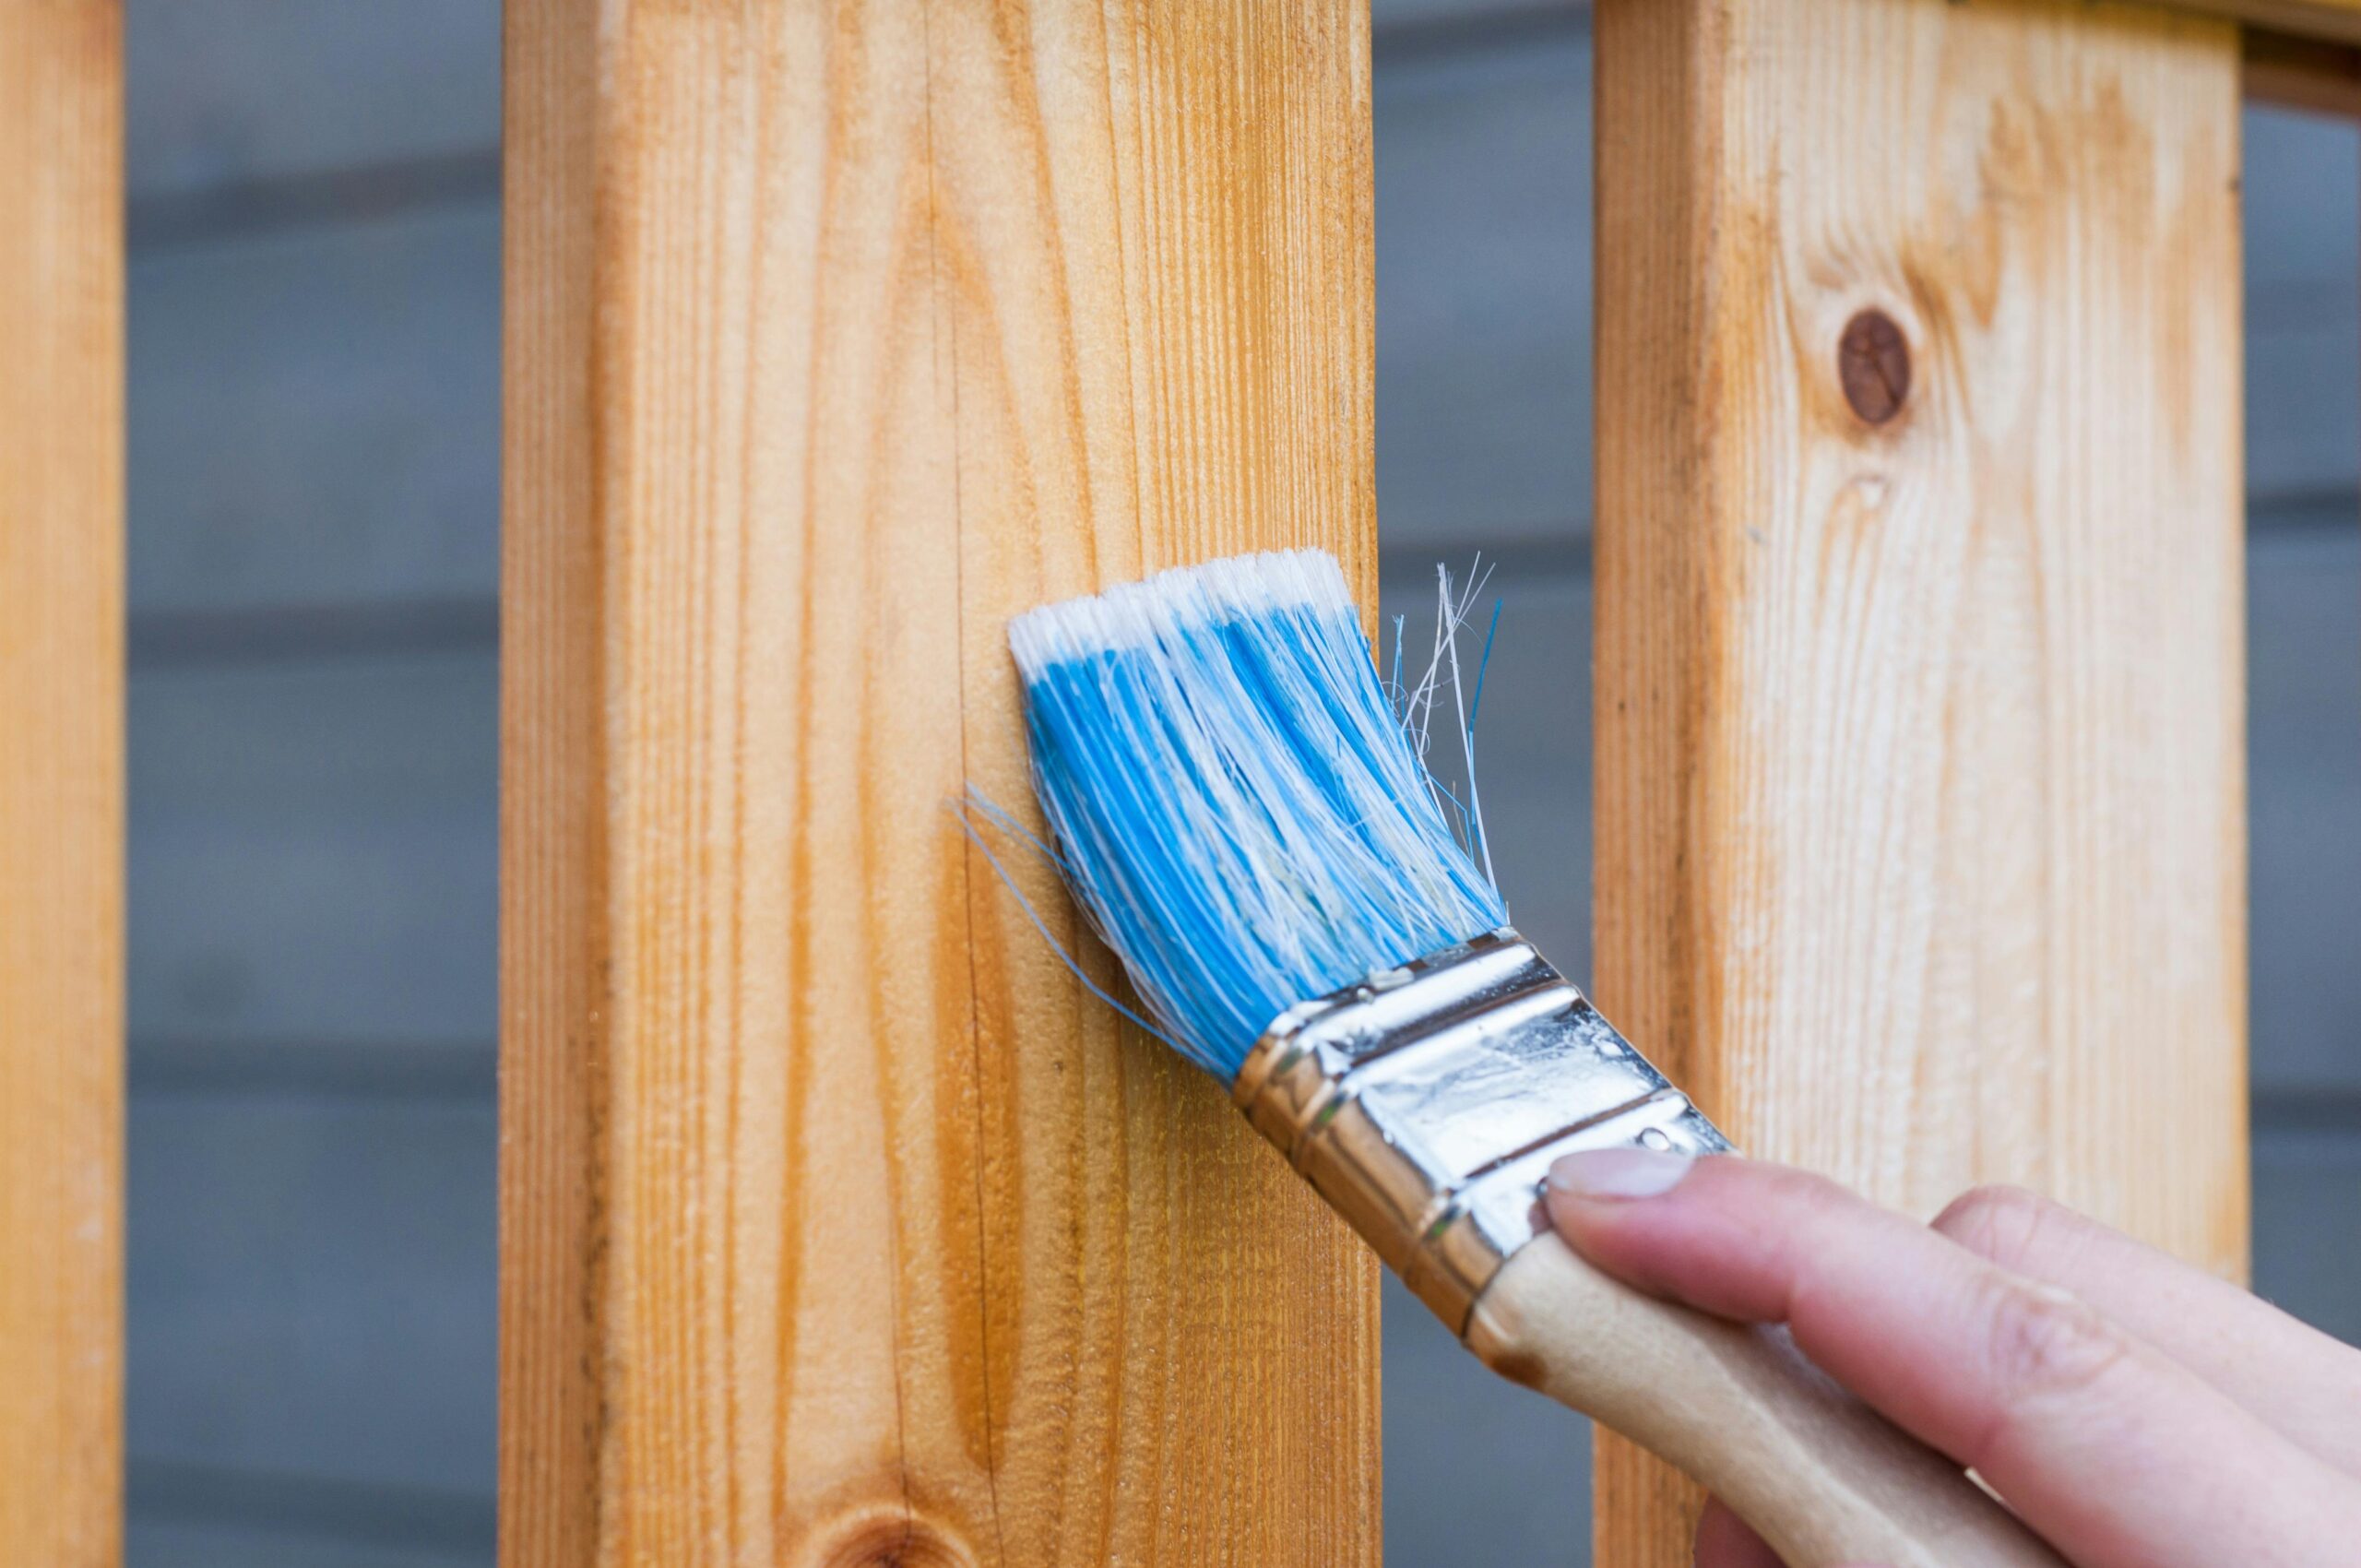
2. Invest in Quality Paint and Tools
All paints are not created equal. Cheap paint often means more coats and poor durability. The same goes for brushes and rollers.
What to look for:
- Low-VOC or zero-VOC paints for a healthier indoor environment.
- Trusted brands with good coverage and washability.
- High-quality brushes (synthetic bristles for latex paints) and lint-free rollers.
Think of your painting tools as an investment. They not only last longer but deliver far better results.
3. Understand Paint Finishes: It Matters More Than You Think
Choosing the right paint finish is essential. It affects both the look and longevity of your painted walls.
Finish Guide:
- Matte/Flat: Ideal for ceilings and low-traffic areas. Hides imperfections but not easy to clean.
- Eggshell/Satin: Great for living rooms, bedrooms, and hallways. Slight sheen and easy to clean.
- Semi-gloss/Gloss: Perfect for kitchens, bathrooms, and trim. Highly durable and wipeable.
Don’t choose solely based on aesthetics—consider the functionality of each room.
4. Never Skip the Primer
Primer seals surfaces, covers stains, and creates an even base for topcoat adhesion. Especially important when:
- Painting over a darker colour.
- Painting raw plaster or drywall.
- Switching from oil-based to latex paint.
Insider Insight: Many modern paints are paint-and-primer-in-one, but using a dedicated primer first often yields superior results.
5. Master the “W” Technique
Professional painters don’t just slap on paint. They use the “W” or “M” technique to ensure even distribution.
How it works:
- Load the roller evenly.
- Roll in a “W” or “M” shape over a 3×3 foot area.
- Without lifting the roller, fill in the gaps.
This avoids streaks, roller marks, and uneven patches.
6. Cut In Before You Roll
Cutting in refers to painting around edges with a brush before rolling the larger areas. It creates a border and helps maintain clean lines.
Top Tip: Use an angled brush for better control. Work in sections—cut in a wall, then immediately roll it while the edges are still wet for a seamless blend.
7. Respect the Drying Times
Impatience can ruin your paint job. Applying the second coat before the first has dried leads to peeling, bubbling, and uneven colour.
Check your paint can: Drying times vary, but a good rule of thumb is:
- Touch dry in 1-2 hours.
- Recoat after 4-6 hours.
Use fans or dehumidifiers if needed but avoid rushing the process.
8. Paint in the Right Lighting
Lighting affects how paint looks. Natural daylight is ideal for spotting flaws and achieving true colour.
Before starting:
- Paint during the day when natural light is best.
- Use bright, white artificial lighting in poorly lit rooms.
- Always check samples at different times of day.
This avoids surprises when the paint looks different at night.
9. Tackle One Wall at a Time
While it may seem efficient to cut in all walls at once, it’s better to focus on one wall from top to bottom before moving on.
Why it works:
- Wet edges blend better, preventing lap marks.
- You maintain a “wet edge,” creating a more consistent finish.
10. Know When to Call the Pros
Some jobs are best left to professionals. High ceilings, intricate mouldings, or textured walls can be difficult and risky to DIY.
Signs you need expert help:
- You’re tackling multiple rooms or large spaces.
- You want wallpaper removed or wall repairs.
- You lack the time, tools, or confidence.
Done Right Services offers expert interior painting with precision, cleanliness, and a satisfaction guarantee. We take pride in transforming homes with minimal disruption and maximum care.
Interior painting may look easy, but the best results come from knowing the tricks of the trade. From proper prep to mastering techniques, these secrets can save you time, money, and stress.
When in doubt, trust the professionals. Done Right Services delivers exceptional results with attention to detail and customer satisfaction at our core.
Ready to Refresh Your Home?
If you’re planning your next interior makeover, we’re here to help. Contact Done Right Services for a free quote and let us bring your vision to life — the right way.
Connect with us: Website: donerightservices.co.uk Email: [email protected]
Share this post with friends planning a home refresh — because good paint jobs should never be kept secret!